A mixed load often arrives as one booking but needs to end up in several places: circuit boards in one bin, cable in another, metals in a third. This guide shows how to set up your bins, have RecyclyERP fill the right bin in for you, and move a whole load into its bins in one go.
1. Set up your bins
A bin is simply a stock location inside your warehouse. Go to Inbound > Configuration > Logistics & Inventory > Stock Locations and create one location for each bin, with its Parent Location set to the stock location it sits inside, for example WH01/Stock. The full name builds itself: WH01/Stock/PCB - Low Grade.
If you sell from a bin, make sure the location allows Outbound Orders (the tick box on its Location Details tab).
2. Give each Asset Type a Default Bin
Open an Asset Type, go to the Inventory tab and choose its Default Bin under Storage. This is the bin that Asset Type is normally put away to.
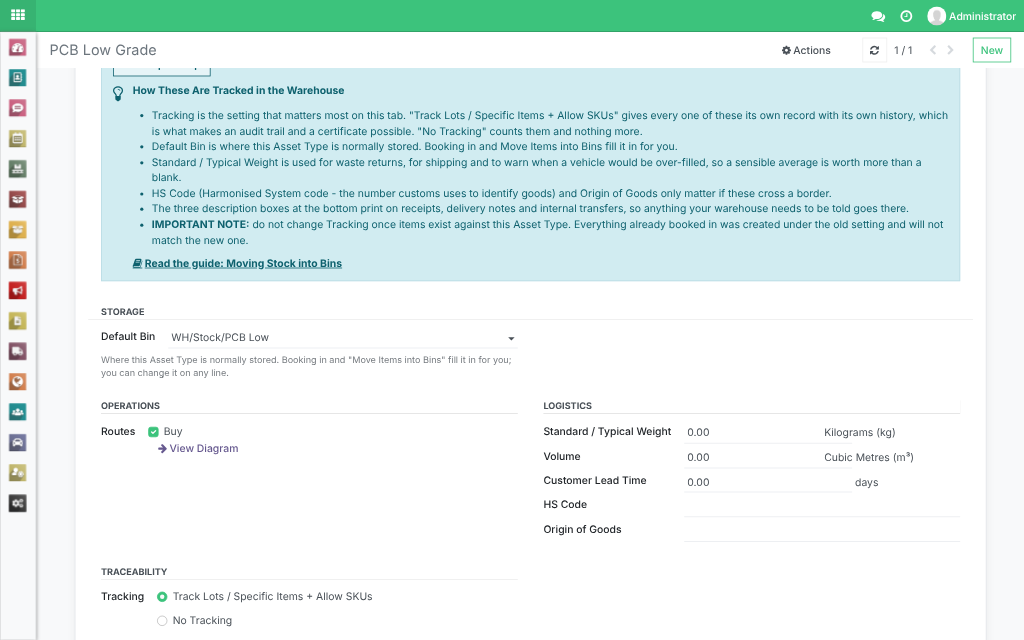
To set many at once, use the Setup Assistant action Set a Default Bin for each Asset Type (under Warehouse Configuration). It opens the Asset Types list with the Default Bin column showing: tick several Asset Types, set Default Bin on one of them, and confirm to set them all.
3. Choose the bin as you book in
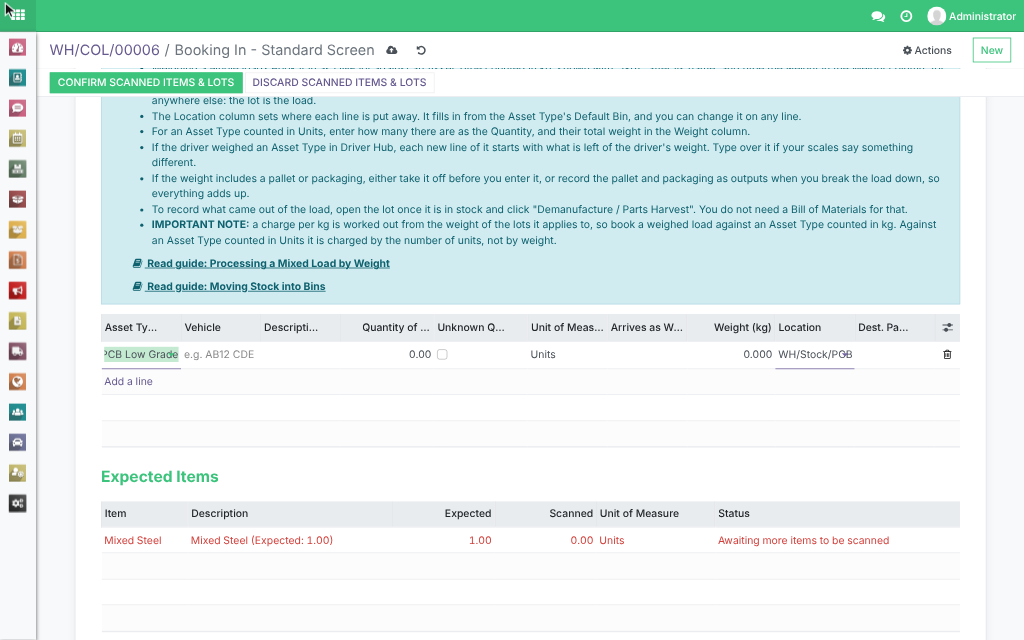
On Book In Items & Lots, both the Individual Items tab and the Lots / Weighted / Other Items tab have a Location column. When you choose an Asset Type on a new line, Location fills in from its Default Bin, as long as that bin sits inside the collection's Destination Location. You can change it on any line, and a location you choose yourself is never overwritten. Booking In - Touch Screen fills Dest. Location the same way.
4. Move a whole load into its bins
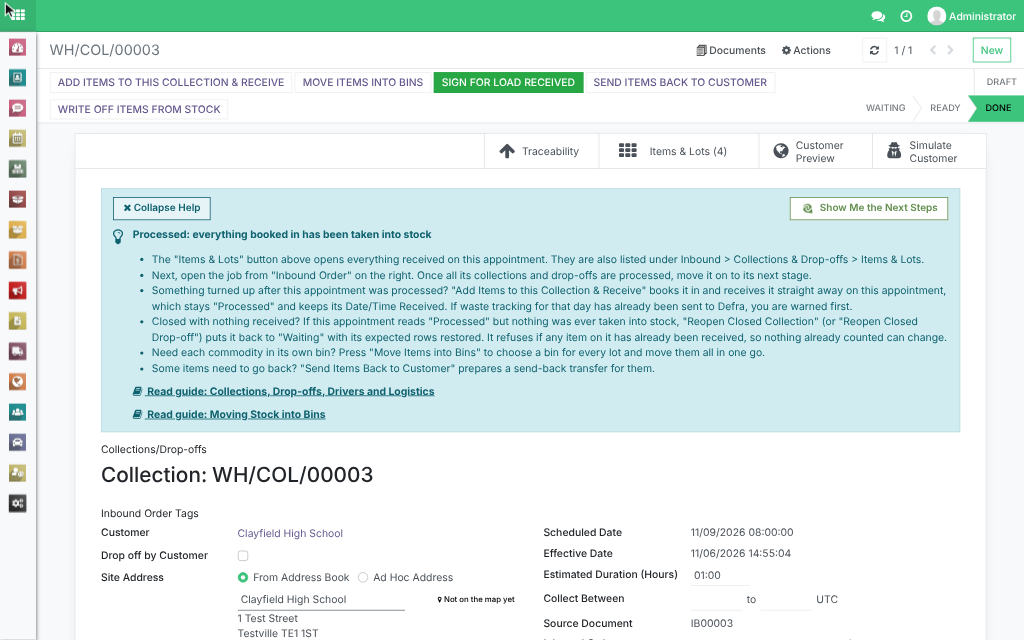
If a load has already been booked into one place, press Move Items into Bins on the collection or drop-off. It is next to "Receive All Into Stock" while the goods are still expected, and next to "Add Items to this Collection & Receive" once it is Processed.
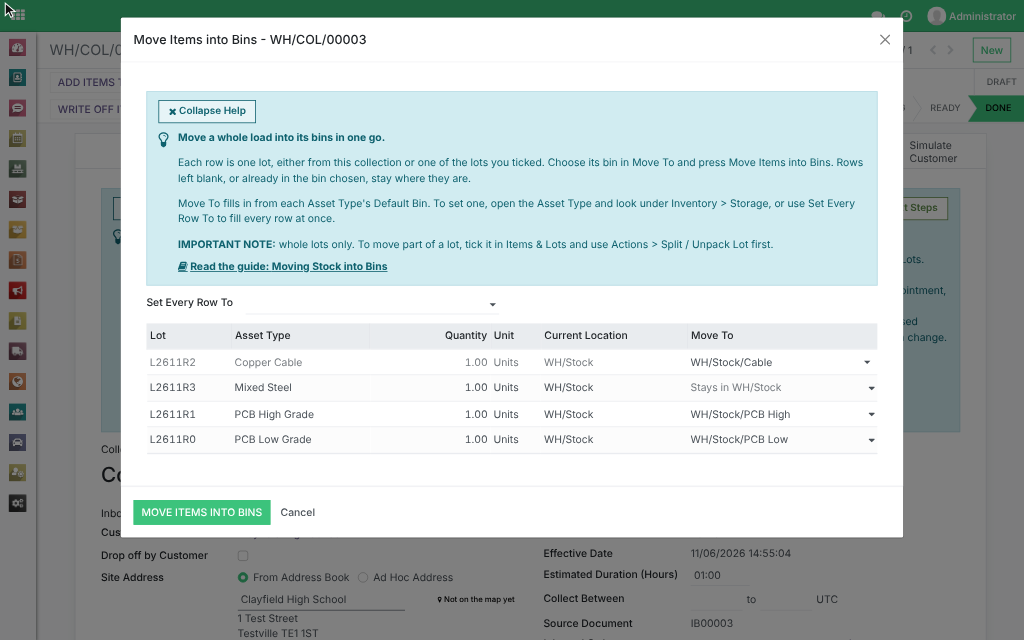
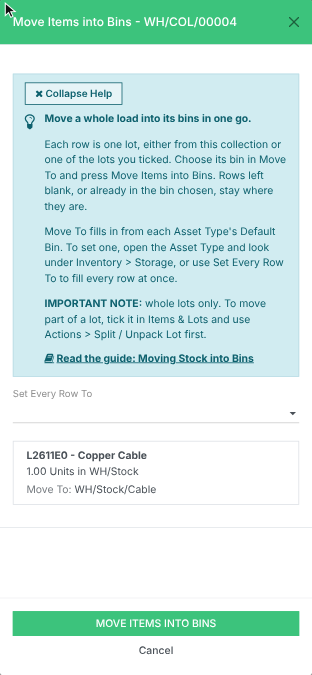
The pop-up lists every lot on the collection that is still expected or in stock, one row per lot. Move To is already filled in from each Asset Type's Default Bin. Change any row you need to, or use Set Every Row To to fill every row at once, then press Move Items into Bins. Rows left blank, or already in the bin chosen, stay where they are. The collection's log note records each lot moved, from where and to where.
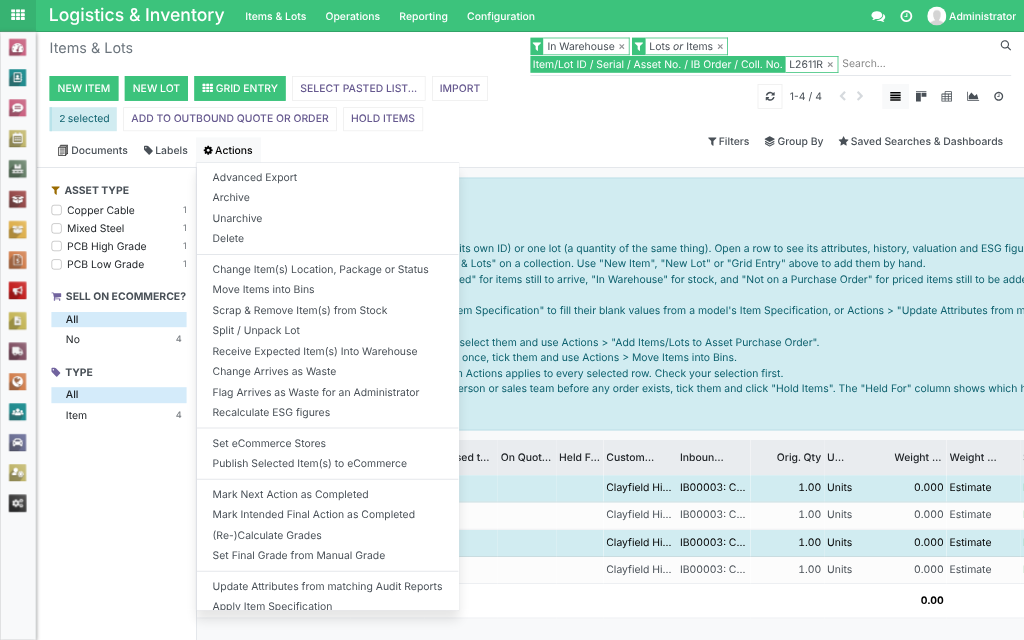
You can do the same from Items & Lots: tick the lots, from any collection, and use Actions > Move Items into Bins.
On a phone, each lot shows as a card. Tap a card to choose its bin.
5. Moving part of a lot
Move Items into Bins moves whole lots only. To move part of a lot, tick it in Items & Lots and use Actions > Split / Unpack Lot first, then move the new lot.
6. Selling from bins
Items in a bin can be sold like any other stock, as long as the bin allows Outbound Orders. To sell a particular lot, choose it on the order line.