The quickest way to create a new Asset Type is to duplicate an existing one that is close to what you need, then change what is different. For example, to create an "All In One" Asset Type you could duplicate "Desktop PC".
Creating a new Asset Type
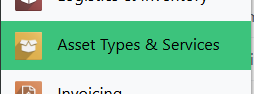
- Open Asset Types & Services and find the Asset Type closest to the one you need.
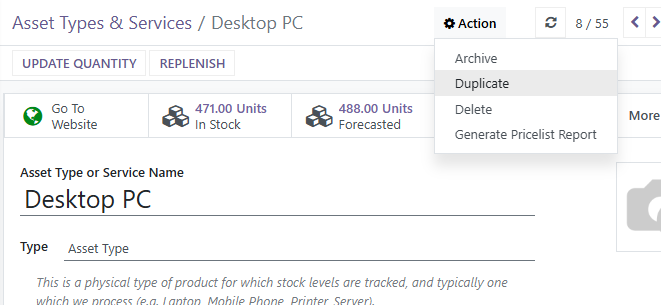
- Open it, then click Action > Duplicate.
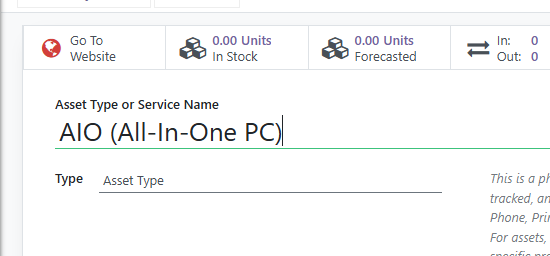
- Give the copy its new name in Asset Type or Service Name.
- Work through the rest of the form. The copy starts with every setting of the original, so check the Asset Type Attributes and Processing Details tabs in particular.
- Click Save.
Choosing what you record: Asset Type Attributes
The Asset Type Attributes tab is one of the most important parts of setting up a new Asset Type. It lists the details you capture for every item of this type, such as Manufacturer, Model, Serial Number, Grade, and the processor, memory and storage details.
These are exactly the details that appear on the Attributes tab of an item of this type.
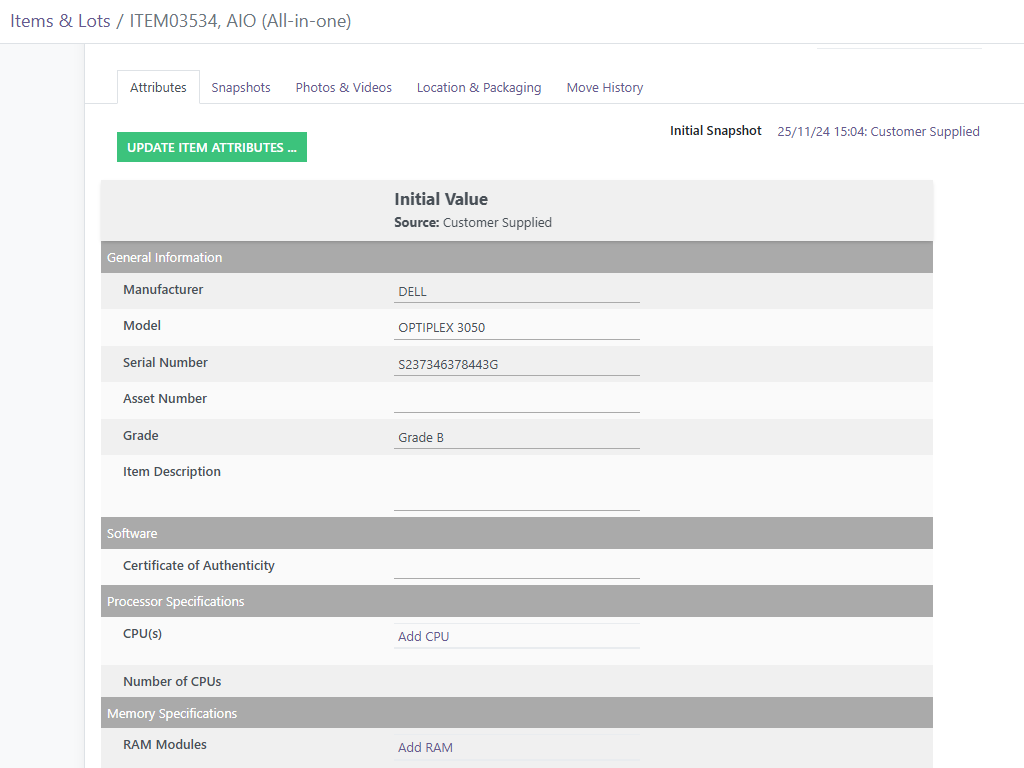
Add only the attributes that matter for this type. A screen of forty boxes gets filled in badly, and an attribute you do not capture cannot affect an item's grade.
Adding and removing attributes
You can add or remove attributes at any time on the Asset Type Attributes tab.
To remove an attribute, click the bin icon at the end of its row, then Save. Nothing already recorded on existing items is lost: the attribute simply stops being collected from now on, and you can add it back at any time.
To add attributes:
- Click Add Attribute(s) to this Asset Type...
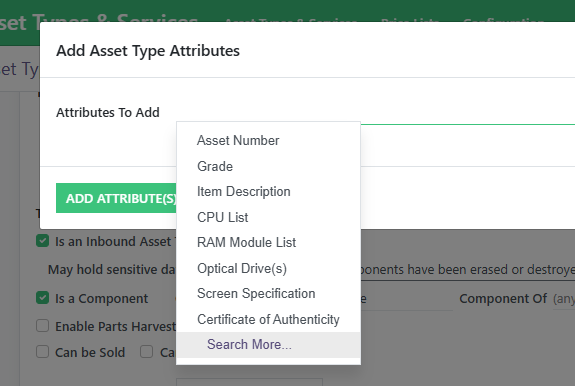
- Click into Attributes To Add and pick from the list, or choose Search More... at the bottom to see every attribute grouped by category.
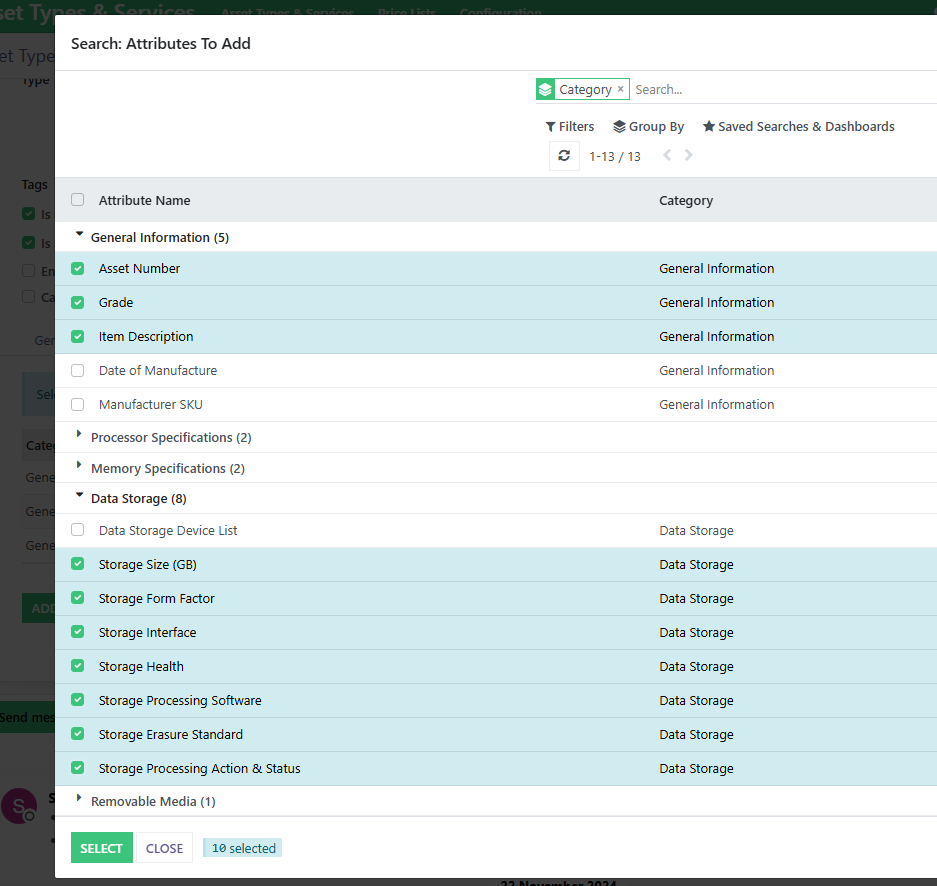
- In the Search More list, tick every attribute you want and click Select.
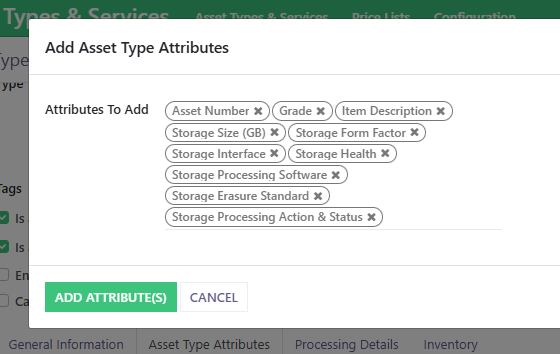
- Check the list and click Add Attribute(s).
- Click Save.
Arrives as Waste
On the Processing Details tab, under the Arrives as Waste heading, Default for Items & Lots says whether items of this type are waste at the moment they arrive. It has three states: blank, Yes and No. Leave it blank unless you are sure, because anything blank is treated as waste. Set it to No only for equipment that is genuinely not waste when it arrives, such as working equipment sent in for re-use under an asset transfer arrangement.
This is a different question from Default Intended Final Action, just above it, which is what you expect to do with the item in the end. A contract can override this setting for a particular client, and the answer is fixed on each item when it is booked in, so changing it later does not alter items already received. The full explanation is in Digital Waste Tracking (DWT): reporting received waste to Defra.
Your responsibilities
- Arrives as Waste: decide this from what the customer handed over, not from test results: anything a customer was getting rid of arrived as waste, even if you later resell it.
- Your business is responsible for deciding what is waste and for what you report to regulators. RecyclyERP records your decisions and prepares paperwork from them; it does not give legal or regulatory advice.
- Read the official guidance: When electrical and electronic equipment (EEE) becomes waste (WEEE) (opens in a new tab), Check if your material is waste (opens in a new tab) and Hazardous waste consignment note supplementary guidance (opens in a new tab).